Erfassen Sie die Arbeitszeit und erstellen Sie ein Projekt oder eine Aufgabe
How can I register time and create a project or task?
Good time registration and administration is an important aspect of a company. With Invoice Office, keeping track of hours worked by yourself or your employees is such a success. Below I deal with some frequently asked questions regarding time registration:
"How do I create a task or project?"
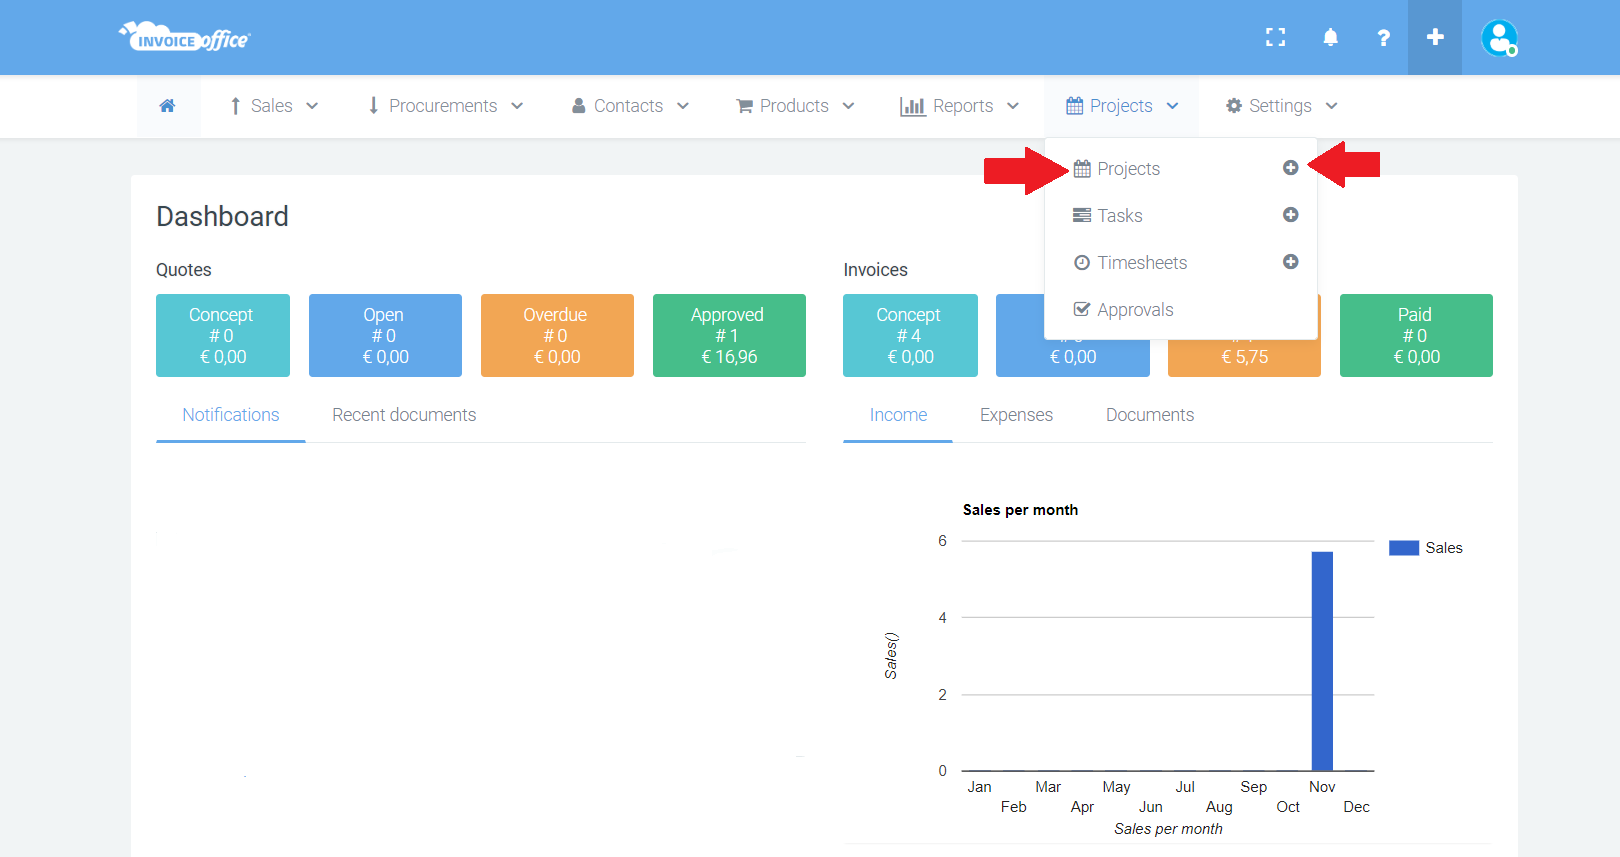
1. From your dashboard, go to projects > projects , or the plus next to it.
2. Choose a customer from your customer base in the new window, or create a new customer under create new customer.
3. Enter a project name, start & end date and any other information you want to add.
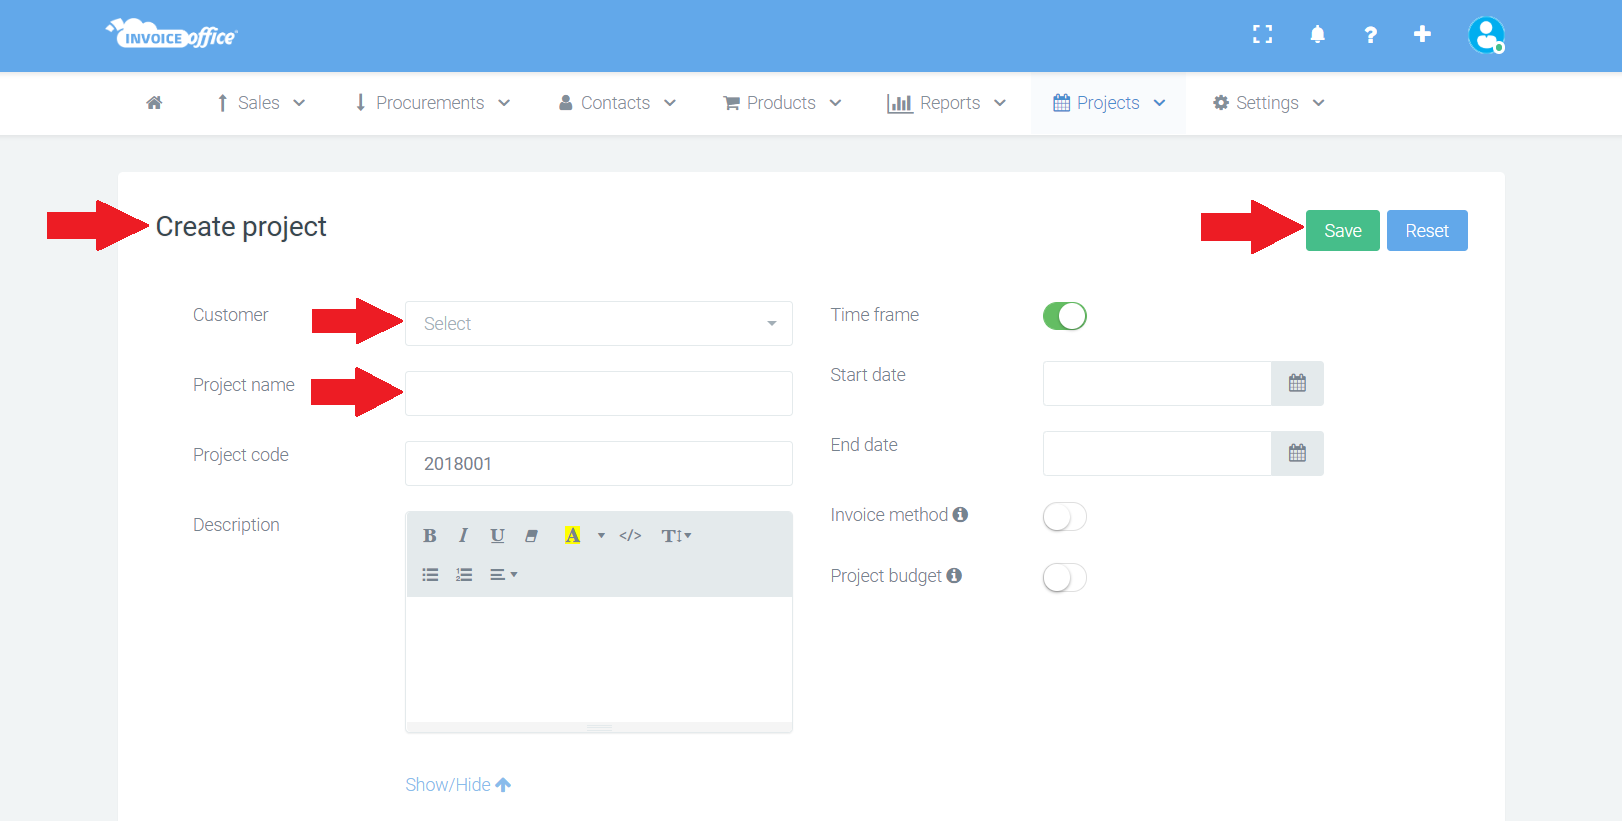
4. Under project notes enter any notes or notes that relate to this specific project. These notes can only be viewed by administrators and are only shown on the complete project reports.
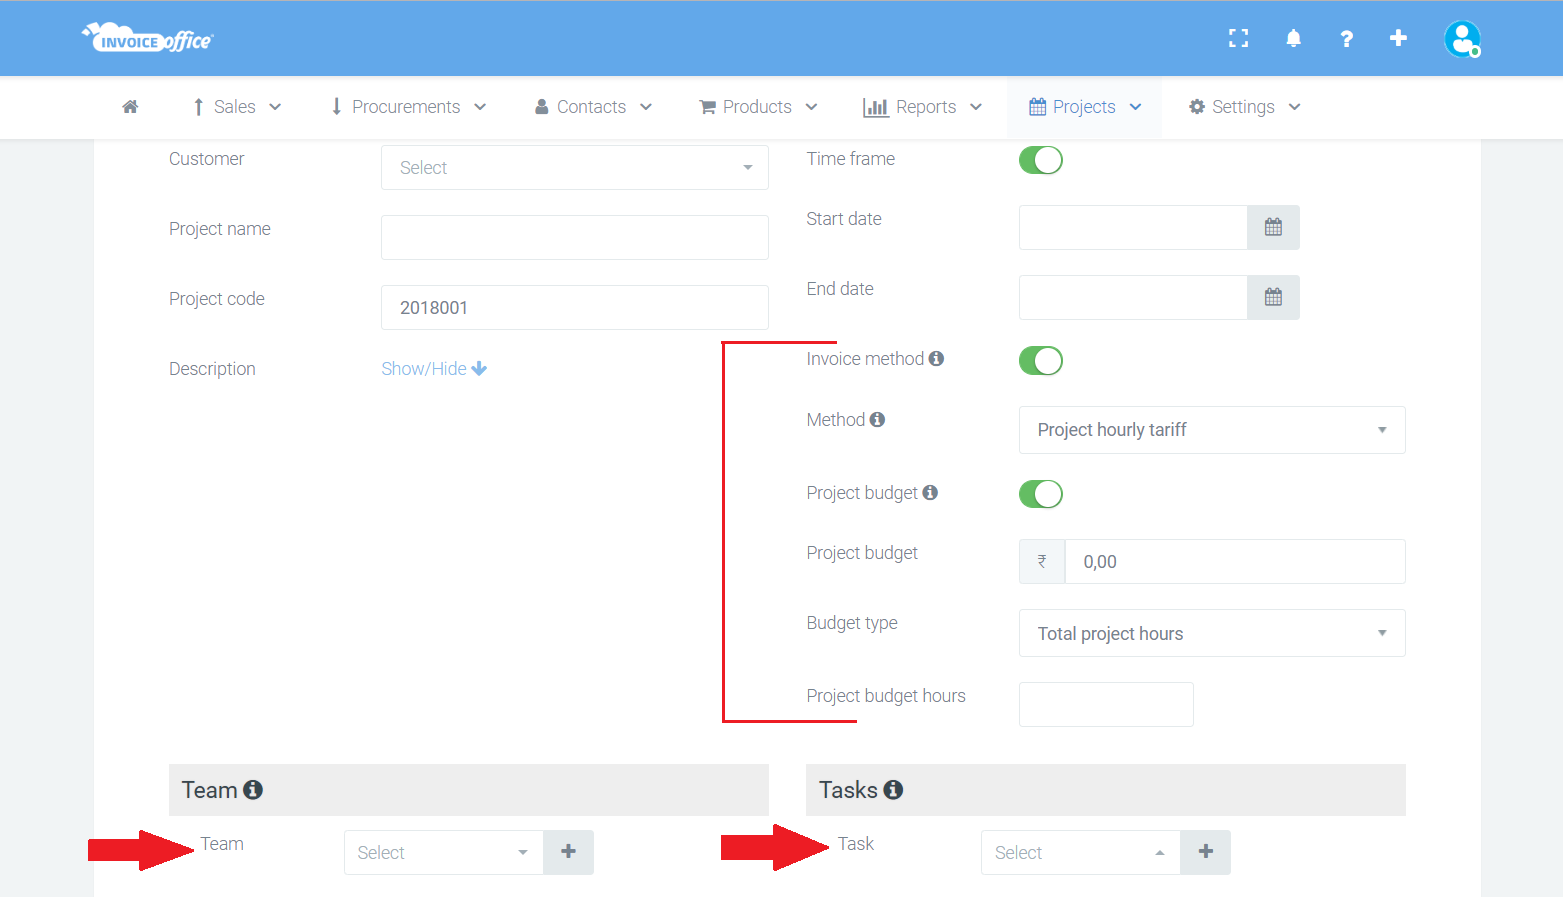
5. Under time frame , choose whether it is a project with a limit of hours, or whether it is an ongoing project.
6. Under billing method , choose whether it concerns a project to be invoiced. If so, choose the desired way of handling an hourly rate. Then enter the hourly rate below.
7. Is there a budget? Choose yes or no behind budget.
8. Under team you can see the members of the project. On the right you can check whether the members are billable.
9. Under tasks then select a task within the project. No task yet created? Then click on create task. Here you enter a task name, an hourly rate and set the VAT percentage. Underneath you choose whether the task is billable by default, whether it is a common task and whether it should be added to all projects. Then click save and the task has been added. Just click save again and the new project is now created.
10. Now you can see projects and tasks created on the project dashboard, with the change, option to make any adjustments.
"How do I keep track of my hours worked?"
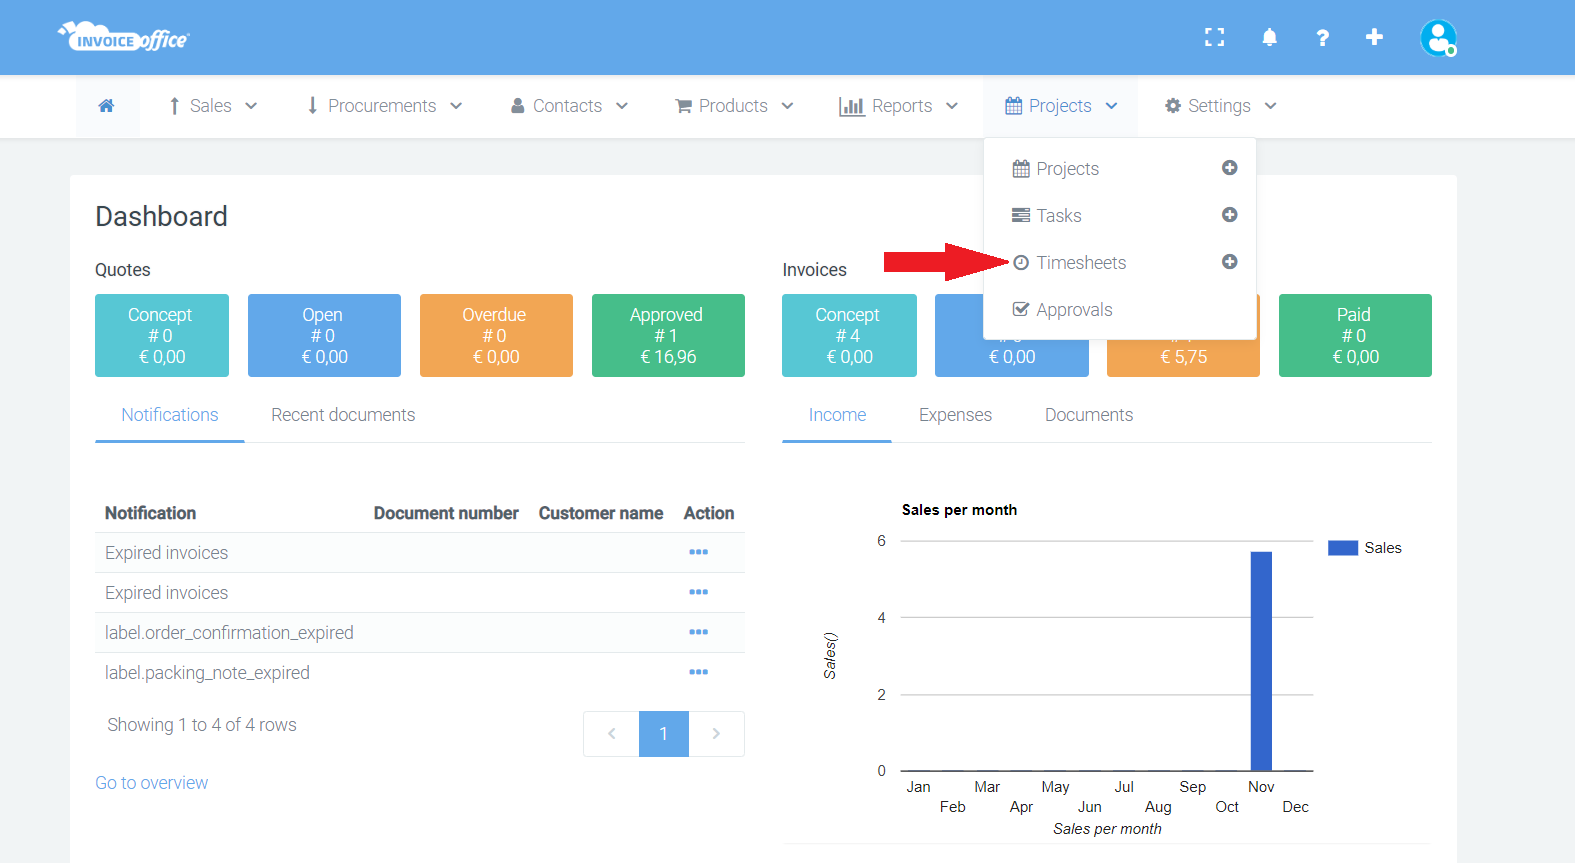
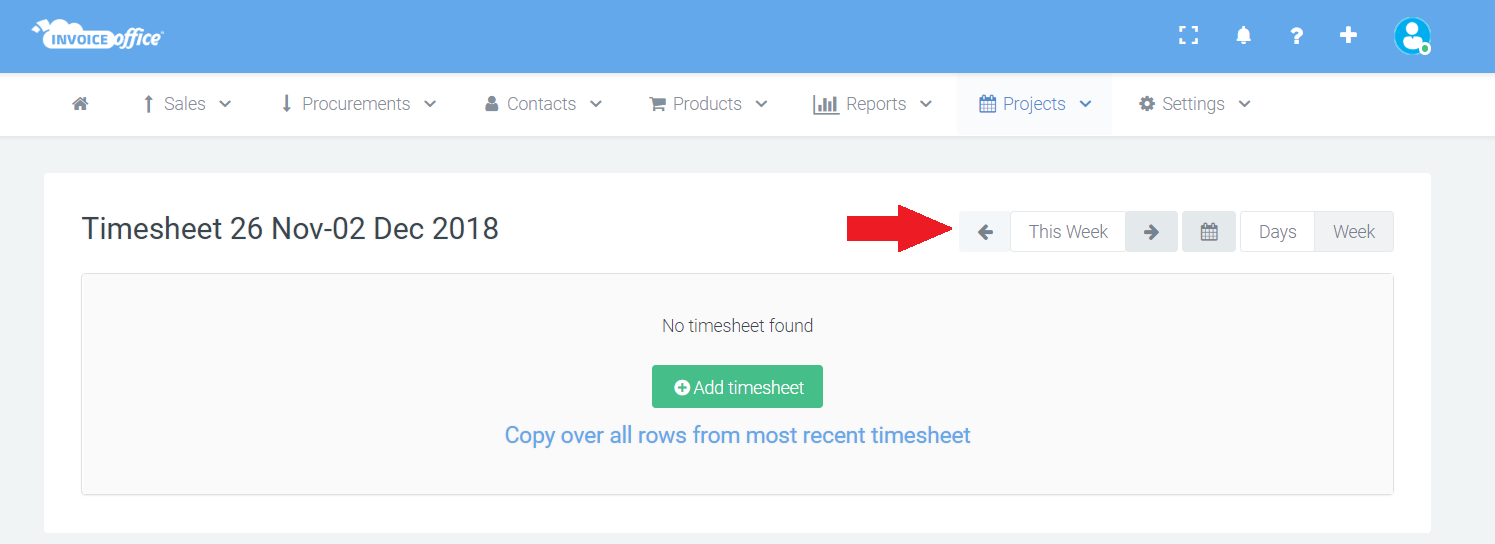
1. From your dashboard, go to projects > timesheets , or the plus next to it.
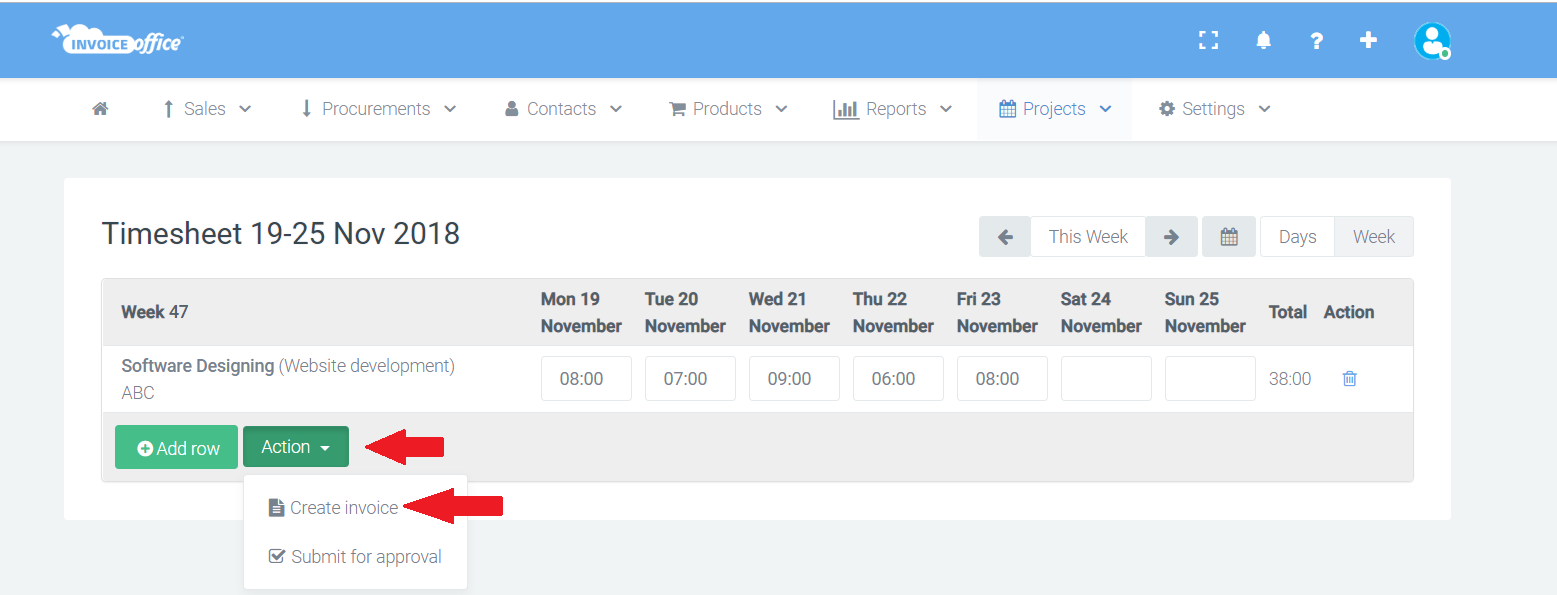
Now the time registration opens in the current week. On the right side of the page you will find an option to change week, as well as date display options. Do you prefer to see your hours per day? Click on day. Click on the calendar to navigate to another day in the month or year.
With copy lines from latest recent time registration you can quickly copy previously completed hours to the current working week. This is useful, for example, if the hours match those of other weeks.
2. Click Add row to create a new time registration.
3. You must first have created a project / task. If you have already done this, you can select in this menu which project and which task it concerns. Now you can immediately start tracking the hours worked by clicking st art timer.
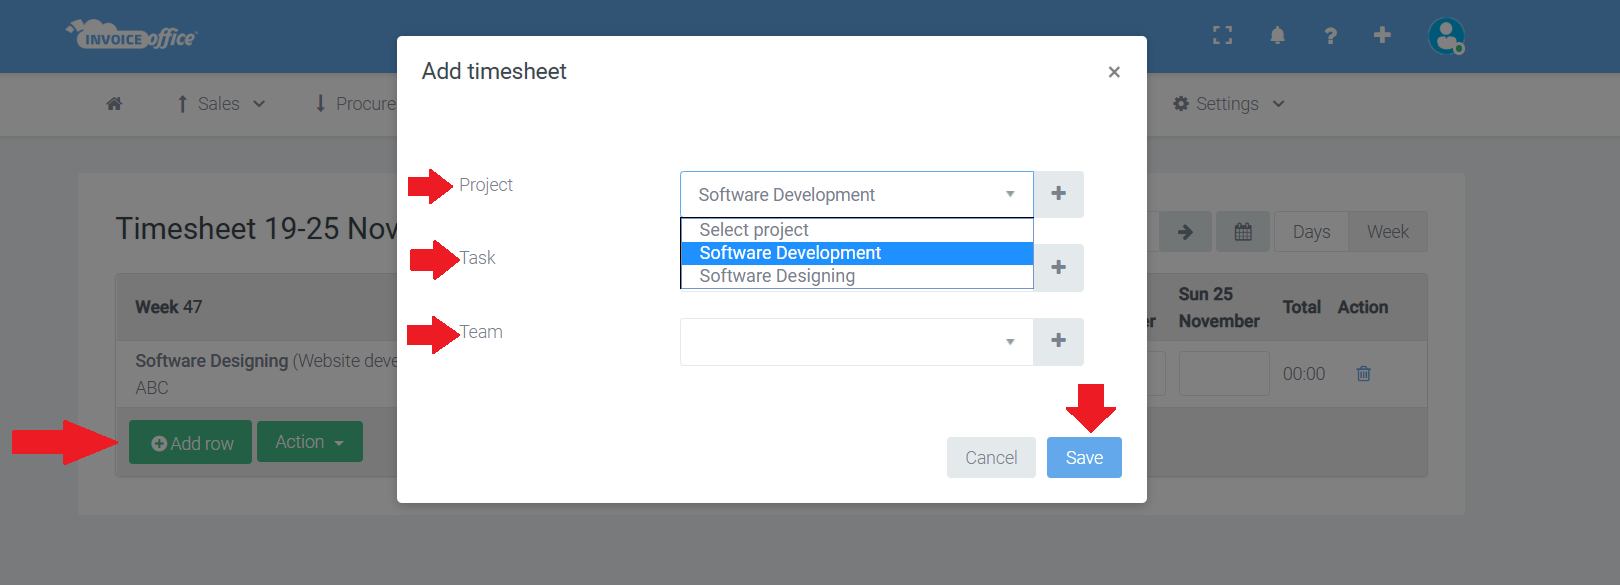
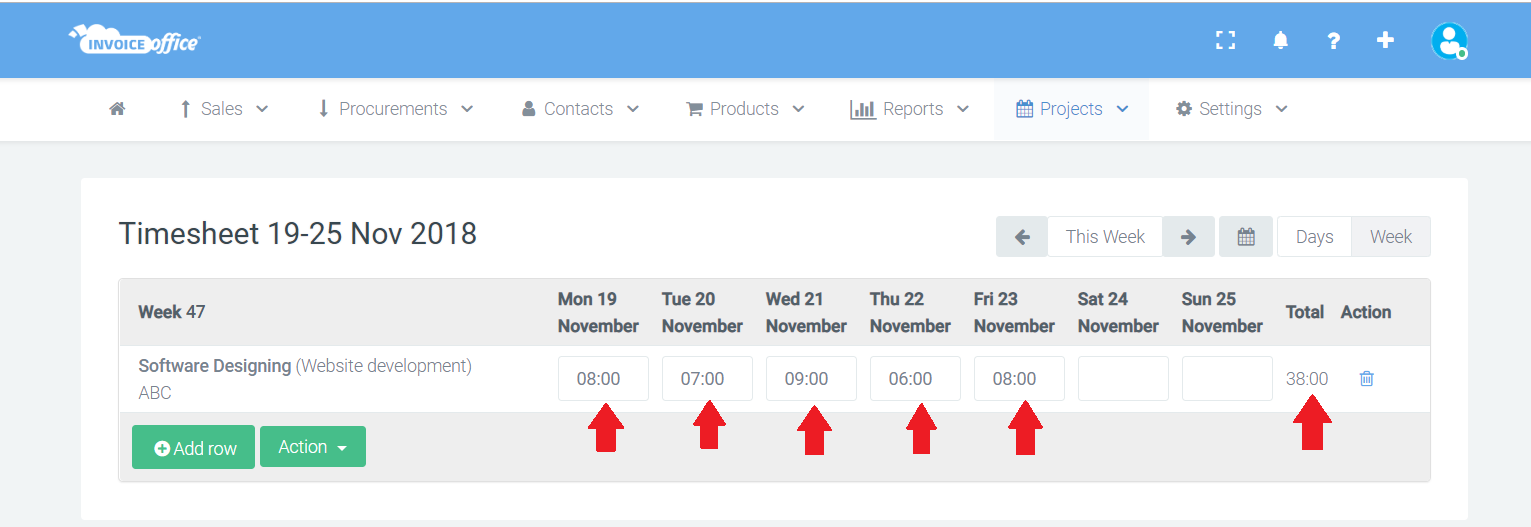
4. Now the current working week opens with the selected project. If the date setting in the top right corner is week, you can easily enter and save the hours worked per day. The hours are automatically added up and are visible at the bottom right. At the bottom left you can create a row with a different project, for example if you have worked for several projects one day.
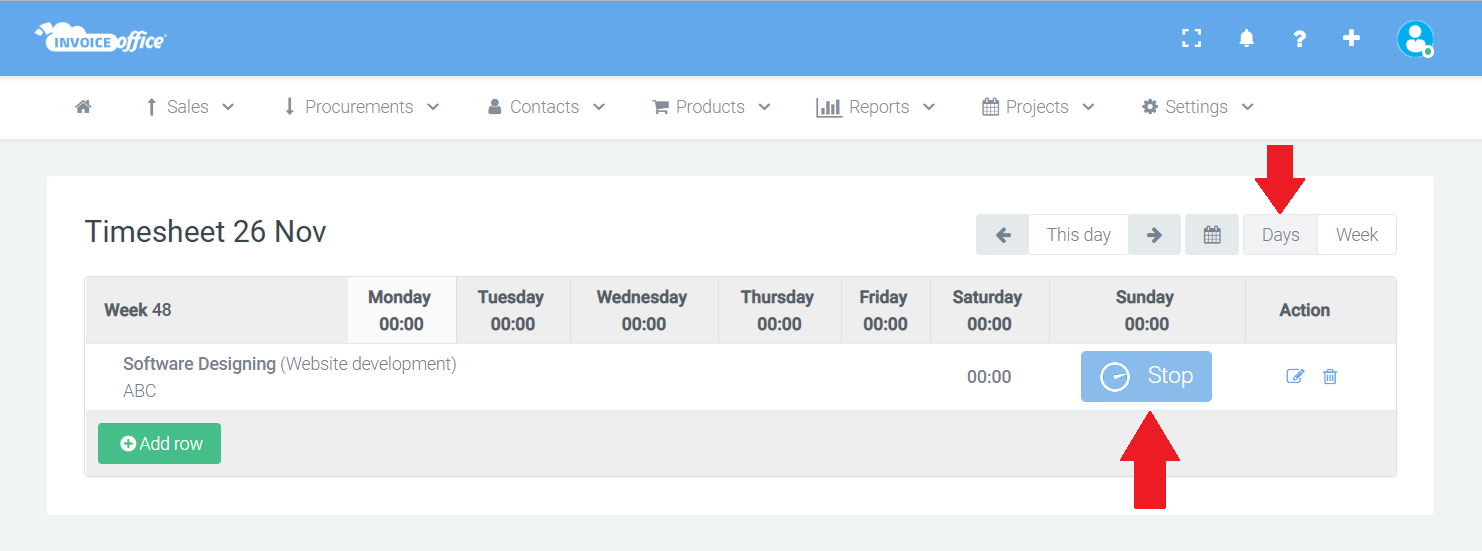
5. If the date setting in the top right corner is day , you can start the timer per day and per project, which keeps track of the time you work up to the minute.
6. Is the week or month over? Click the create invoice option on the bottom left. Select a customer and click next step. Now choose whether you want to include all invoiced hours of the past period, or even invoiced hours from the previous month or the previous quarter. Then choose what information you want displayed on the invoice, and then click next step.
7. Now a new invoice opens, with all hours worked well organized.
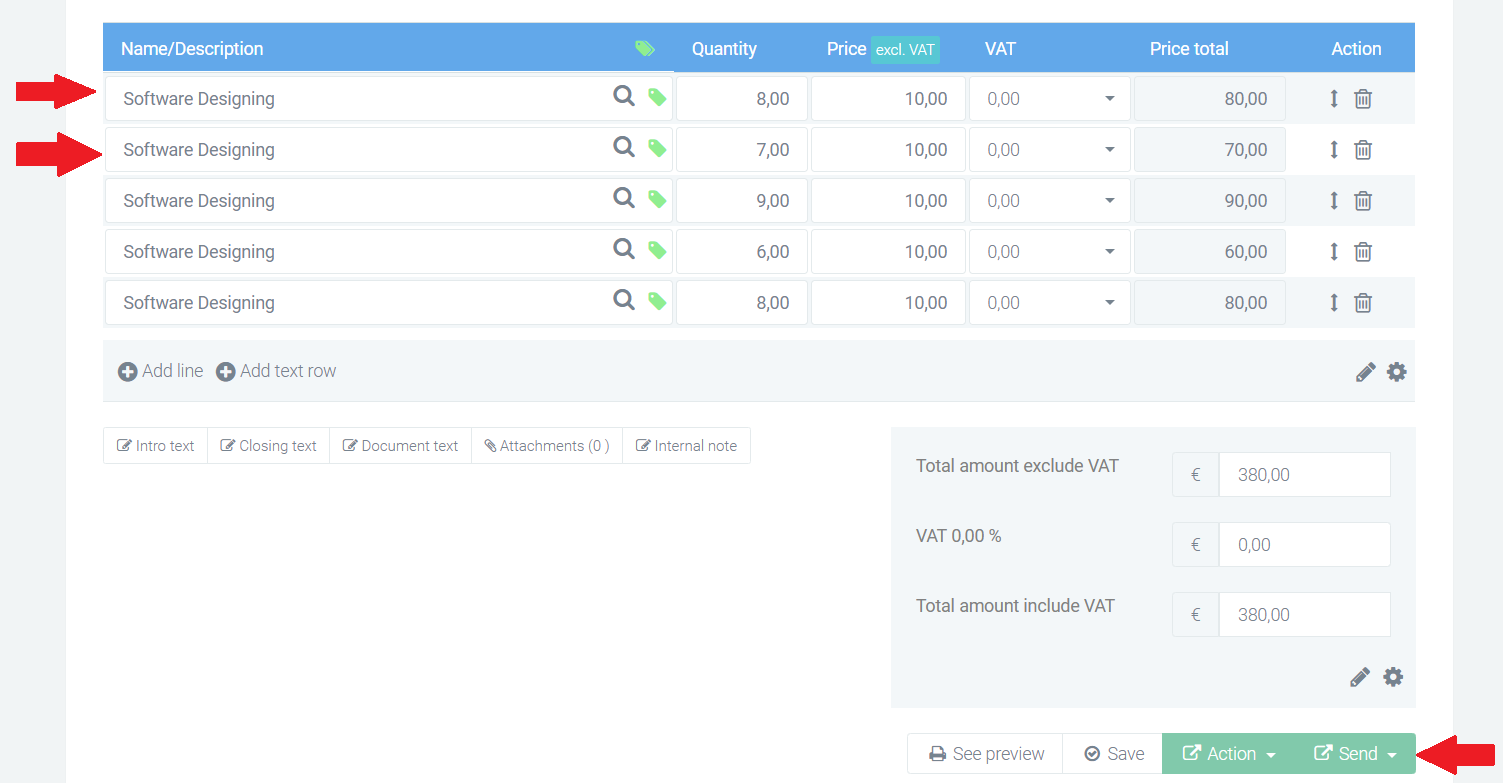
Now your invoice is ready to send